
Rain Barrel Decorating Contests
|
|
|
|
|
| ||||||
|
|
| ||||||
Rain Barrel Workshops
|
| ||||
|
| ||||
| 05032018-rain_barrel_workshop_flyer.pdf |
Presentations from Rain Barrel Workshops
|
|
|
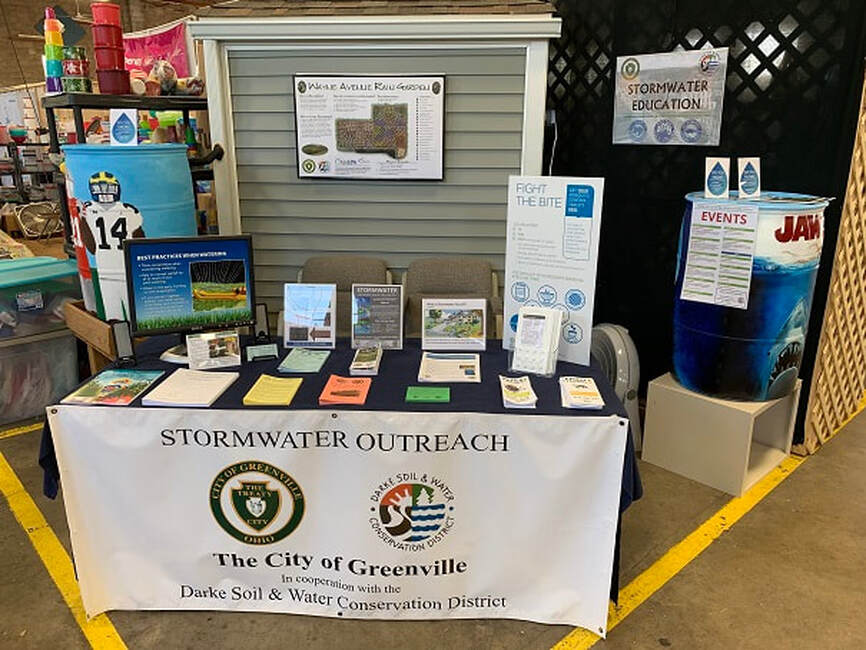
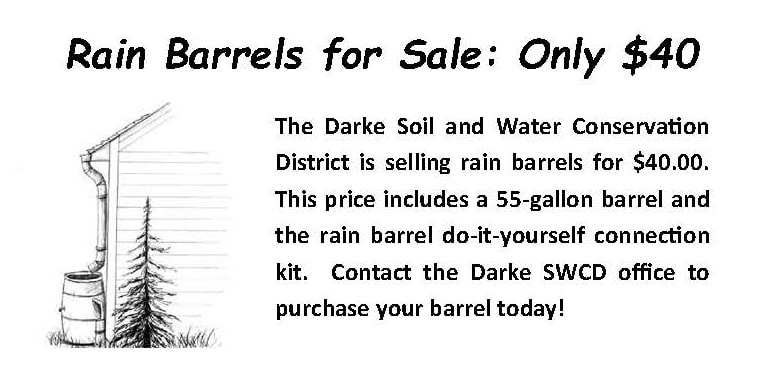
Rain Barrel Information
Rain barrels are available for purchase at the Darke SWCD office. Rain barrels help to reduce the excess runoff which damage our waterways. They are also applicable to all types of sites. Finally, rain barrels are inexpensive to install and maintain.
DIRECTIONS FOR PAINTING RAIN BARRELS
Quick Overview
Barrel needs to be cleaned, sanded and primed before it is painted.
Barrel prep should take about an hour to complete.
Please leave at least 48 hours (or longer) drying time before moving your barrel. This gives the paint time to cure.
Detailed Prep and Painting Tips
1. Label Removal – For a paper label, spray it with water and let it soften, then take a scrubby sponge and scrub off all paper and adhesive. A plastic paint scraper is also helpful. Any adhesive you can feel but not see can be sanded off later.
For plastic labels, peel off with plastic paint scrapper. A goop type product may help for a particularly difficult label.
2. Wash entire barrel with warm water and dish detergent. Dry with soft cloth.
3. Sand the barrel with 220-grit sand paper. A light sanding is all that is needed to remove the barrel’s waxy coat and give the primer something to bite to. The pain then sticks to the primer. We are attempting to create a new “skin” of paint over the plastic barrel.
4. Wipe barrel down with either vinegar or an ammonia/water solution.
5. Primer --- Do not brush on too thin. Work into all crevices, including stamped letters. Cover the entire surface. Let dry well. This will take longer than normal, as the surface is not absorbent.
You must be able to put primer on immediately after sanding, as the surface will re-wax if left. It will be helpful to do each step – top, bottom and sides – in sections so you know the entire surface has been prepped.
Make sure the primer is able to adhere to plastic
Aerosol primer is another option, figure roughly two cans per barrel.
6. When primer is completely dry, you may sketch your design and begin painting. Use a dull pencil, as a sharp pencil will scratch off the primer. The pencil marks do erase well.
It is recommended using two to three light coats of paint, to reduce chances of the paint sagging and dripping!
7. When you are finished painting the design on your barrel, it is highly recommended to give 48 hours drying time before you move it, longer would be better. The paint needs a period of time to cure to reduce the possibility of damage to the paint job. The lower the temperature of your work area the longer drying time needed.
8. Finally, we recommend using a clear coat to protect the paint design and give your barrel a nice sheen.
A Few Helpful Tips:
Follow the basic rules you would when painting a wall. Tape, cut in and fill in. Do the background first and then the detail.
Remember thick coats of paint tend to peel! Use multiple thin coats.
When using masking tape, remove tape before paint dries to prevent the tape pulling off dry paint. If this happens, you will need to re-prime.
|

|